
Mastering Grommet Installation: A Comprehensive Guide
In the realm of DIY projects, the installation of grommets stands as a crucial skill that every enthusiast should master. Whether you're a seasoned craftsman or a novice venturing into the world of home improvement, understanding the intricacies of installing grommets is paramount. In this comprehensive guide, we will walk you through the step-by-step process of seamlessly incorporating grommets into your projects.
Choosing the Right Grommet: A Foundation for Success
Understanding Grommet Types
To embark on a successful grommet installation journey, the first step is choosing the right grommet for your specific project. Grommets come in various types, such as metal, rubber, and plastic. Each material brings unique properties, and selecting the appropriate one is pivotal for ensuring durability and functionality.
Sizing Matters
In the world of grommets, one size does not fit all. The proper fit is crucial for a seamless installation. Carefully measure the thickness of your material and choose a grommet size that accommodates it perfectly. Accurate measurement is the key to a snug and secure fit.
Essential Tools and Materials
Before diving into the installation process, ensure you have the necessary tools and materials at your disposal. This includes a grommet kit containing the grommets themselves, a hole punch, a setting tool, and a sturdy work surface. Investing in high-quality tools ensures a smooth installation process and enhances the longevity of your grommets.
Step-by-Step Installation Guide
Step 1: Marking the Placement
Precision is paramount when it comes to grommet installation. Begin by marking the exact placement of your grommets on the material. This can be achieved using a pencil or a washable marker, ensuring clear and accurate guidelines.
Step 2: Creating the Hole
Once your markings are in place, it's time to create the hole for the grommet. Utilize a hole punch that corresponds to the size of your grommet. Apply steady pressure to create a clean and precise hole, ensuring it aligns with your markings.
Step 3: Inserting the Grommet
With the hole prepared, it's time to insert the grommet. Place the grommet through the hole, ensuring it sits flush with the material. This step requires a steady hand and careful alignment to guarantee a professional finish.
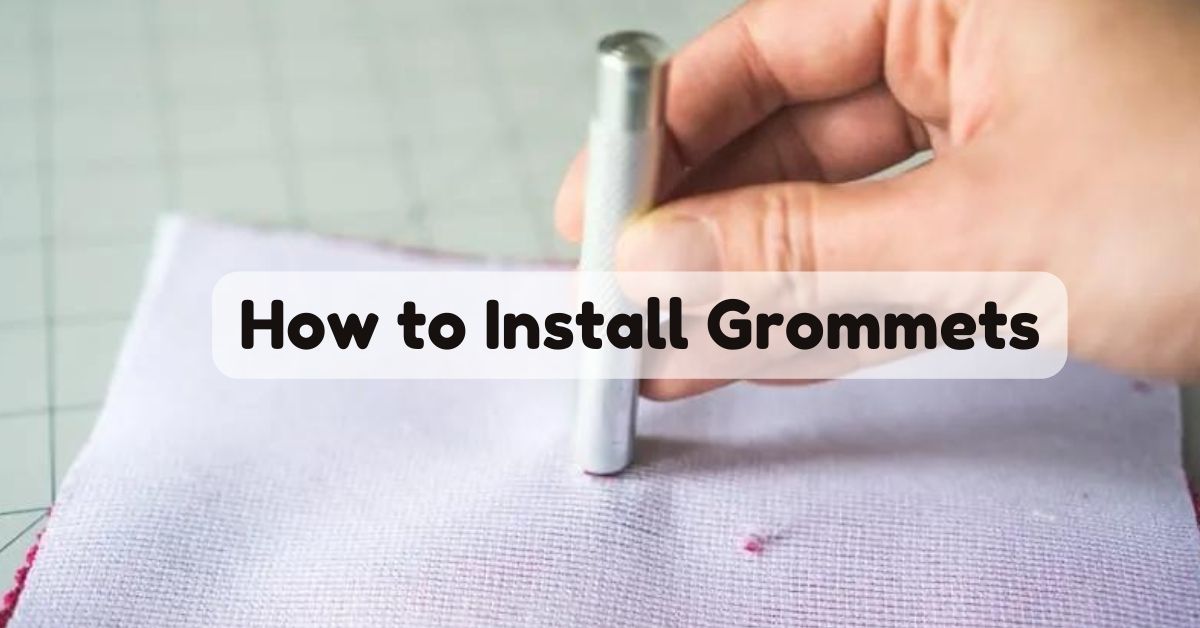
Step 4: Setting the Grommet
Setting the grommet firmly in place is the final step of the installation process. Utilize a setting tool and follow the manufacturer's guidelines for your specific grommet type. This ensures a secure fit, preventing any potential issues down the line.
Pro Tips for Grommet Mastery
Tip 1: Practice on Scrap Material
Before diving into your main project, practice the grommet installation on a piece of scrap material. This allows you to familiarize yourself with the process and refine your technique before tackling your primary objective.
Tip 2: Maintain Consistency
Consistency is key for a professional-looking result. Ensure uniform spacing between grommets and maintain a consistent installation technique throughout your project.
Conclusion
Mastering the art of grommet installation elevates your DIY projects to a professional level. By following this comprehensive guide, you're equipped with the knowledge and skills needed to seamlessly incorporate grommets into various materials. From choosing the right grommet to executing a flawless installation, each step plays a crucial role in ensuring the longevity and functionality of your creations.